Getting started with JamKazam
🌟 New 🌟 10/20/20 - Updated to accord with major changes in September 2020 release.
***Note: JamKazam is a work in progress, with new releases appearing fairly often. Until recently, official JamKazam documentation was not available, so at various points people have written guides to using it. You will find links to some of these and other useful resources in that section. With the September 2020 update, JamKazam has built a lot more documentation into the application. Clicking on the yellow question marks and other embedded links now brings up useful information. Despite these improvements, we've decided, at least for the moment, to continue to put enough here to get you started. As you grow more sophisticated in your usage of JamKazam, you will find discussions elsewhere of topics we do not cover. For the present exposition, we initially leaned heavily on the document developed by Josh Larios. Any mistakes are, of course, our fault. ***
Sign up for an account at https://www.jamkazam.com/signup ---For the privacy-conscious, be warned that pretty much all information on JamKazam is public. There doesn't seem to be a way to choose a user name other than the name you type in when you sign up. If you don't want your real name known, signing up for your account is the moment to hide it.
Download the app at https://www.jamkazam.com/downloads and install it. Watch the videos appropriate to your computer recommended at start here for help. There are now also videos embedded in the set-up procedure that you can watch when you get there.
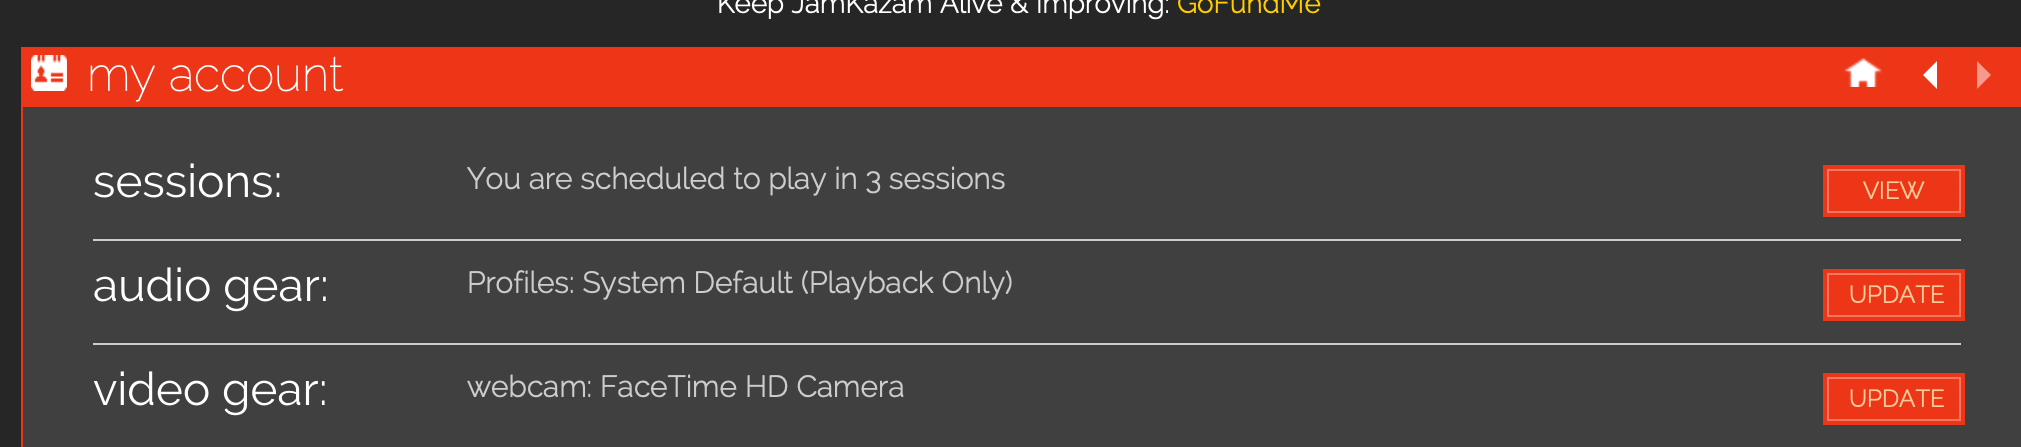
For these next instructions, and pretty much everything in these help pages, you will be using the JamKazam application, not the JamKazam website. When you're ready, with everything hooked up and the app launched, create a profile for the gear you’ll be using. This process will also ensure that your gear works. Start by selecting the "account" box at the bottom right of the home screen:

You’ll see some information about you. Click the update button on the audio gear line:
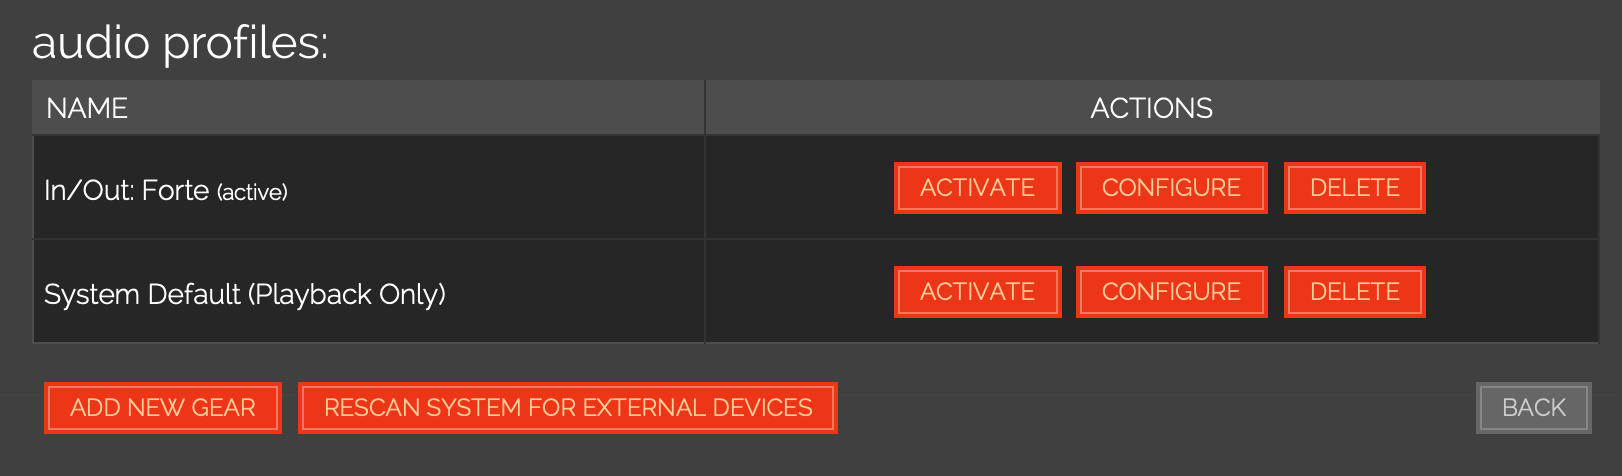
You should see a screen like this:
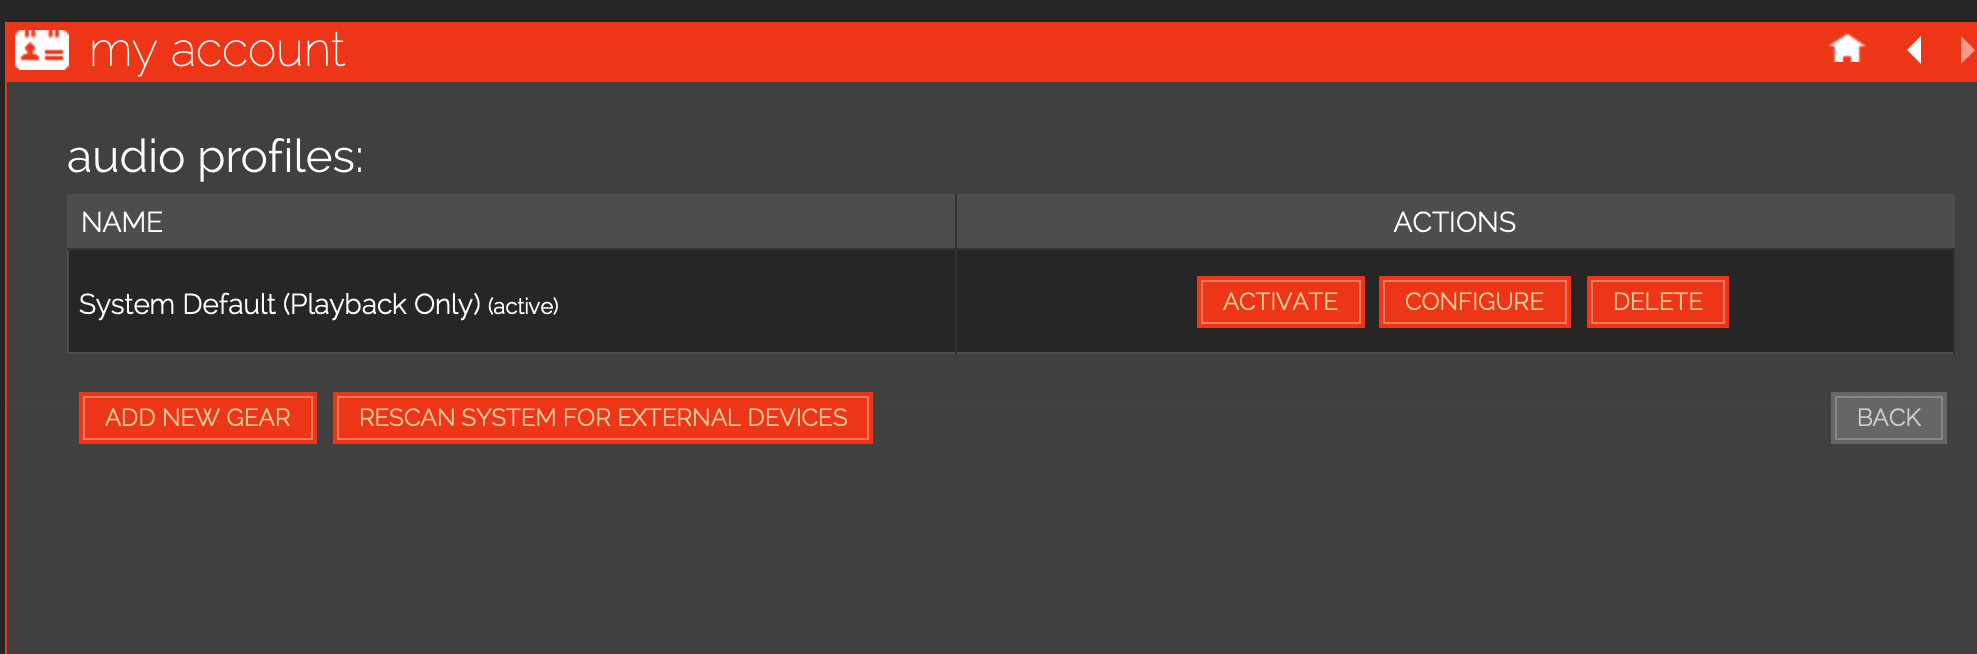
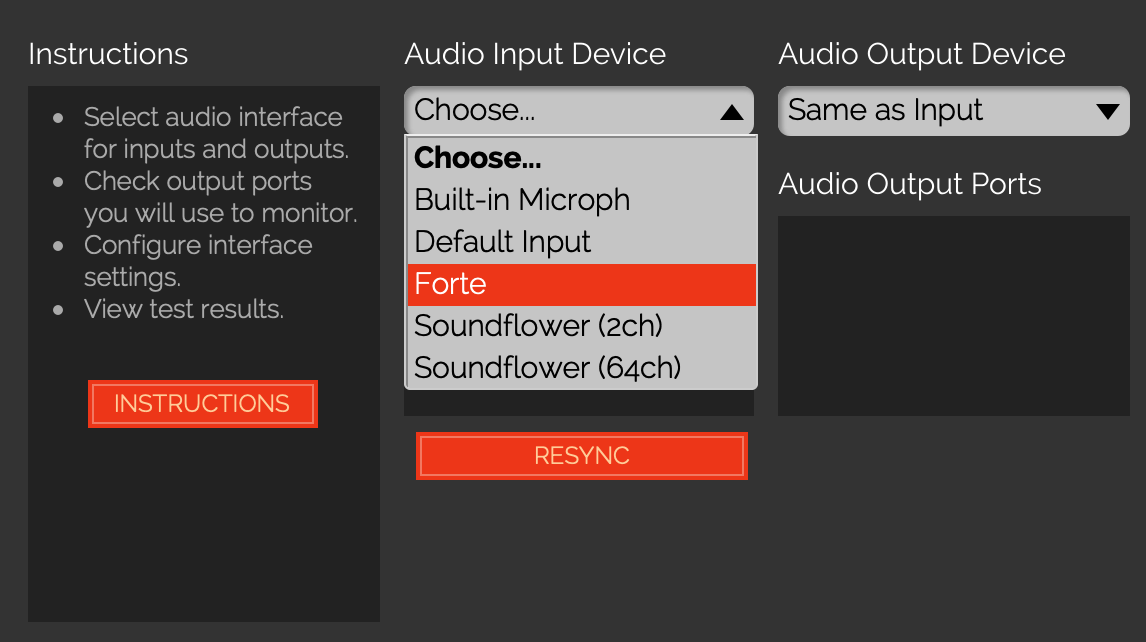
Click on Add New Gear. JamKazam will now lead you through a series of steps. Step 1 is a suggestion that you familiarize yourself with the platform. If you’ve followed our advice, you’ve already done that and you can click on to Step 2. You should now see a screen with a pull-down menu that will allow you to choose your input and output. Go ahead and do that. For example, say you've got a USB audio device called “Forte” that you’ll be using:
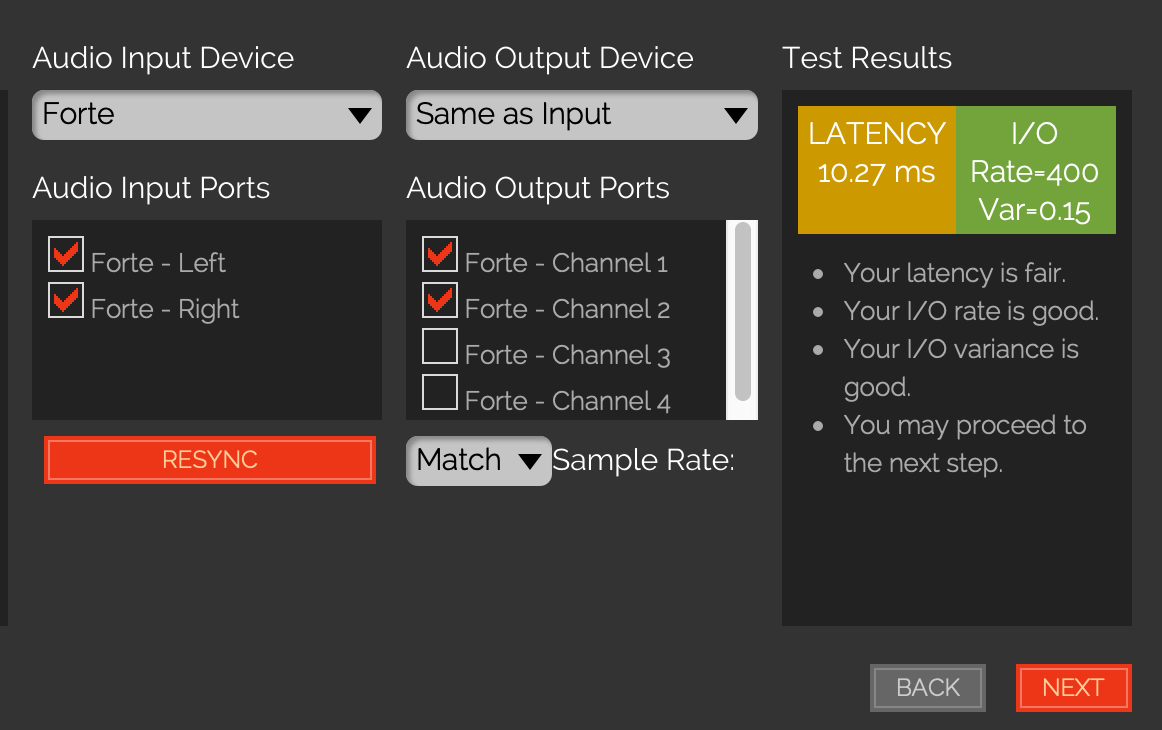
Once you’ve selected input and output devices, it should start running some tests. If the tests fail, it won’t let you continue. Hopefully it’ll tell you what went wrong. If it lets you, click “Next."
Now it’ll ask you what you want to use for voice chat. Most likely, if you are a classical musician, you have a microphone that is picking up your acoustic instrument that’ll also pick up your voice, and you can use that. But perhaps the mike you are using for your piano is far away from your face and you'd like to set up a separate chat microphone. We'll choose a different input for the instrument track and use Forte for the chat microphone instead:
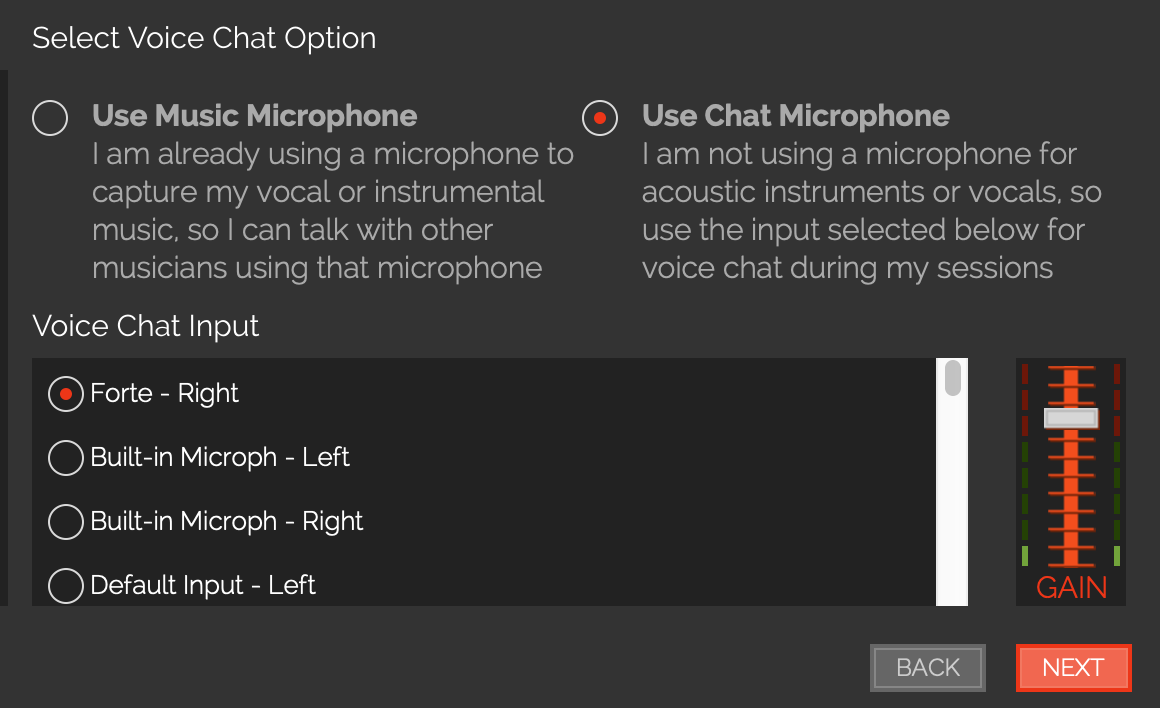
Clicking Next from here brings you to Step 5. Follow the instructions on the screen to check your audio settings. Don't skip this step--make sure you really can hear the tone through your headphones. If you can't, check that you've turned any direct monitoring options off and/or that your headphones work. Click Next and then "Close" to reveal the audio profiles page. Your new configuration should be listed and shown as active:
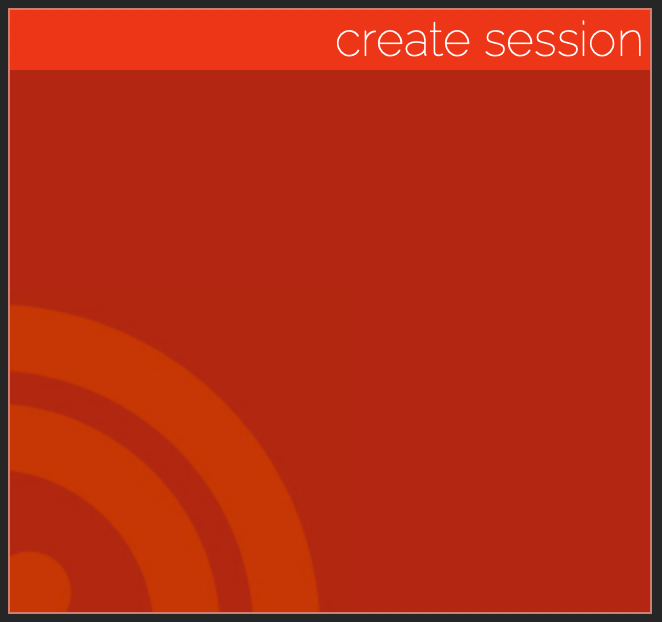
Now it’s time to try entering a session. Click the house icon at the top right to go back to the home screen. Select the create session box at the top left of the home screen:
Then click on the first choice, “Quick Start Private”:
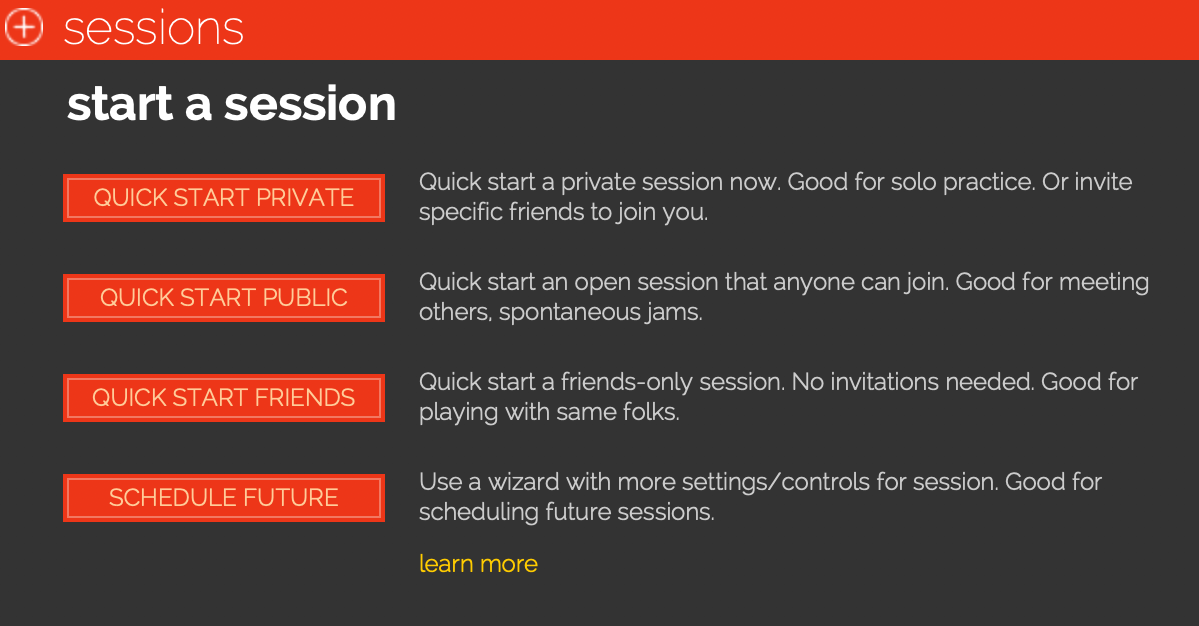
After a few seconds, you should see a screen with your name and some icons appear. Well done! You are in your first JamKazan session. Try playing something. You should be able to hear yourself through your headphones.
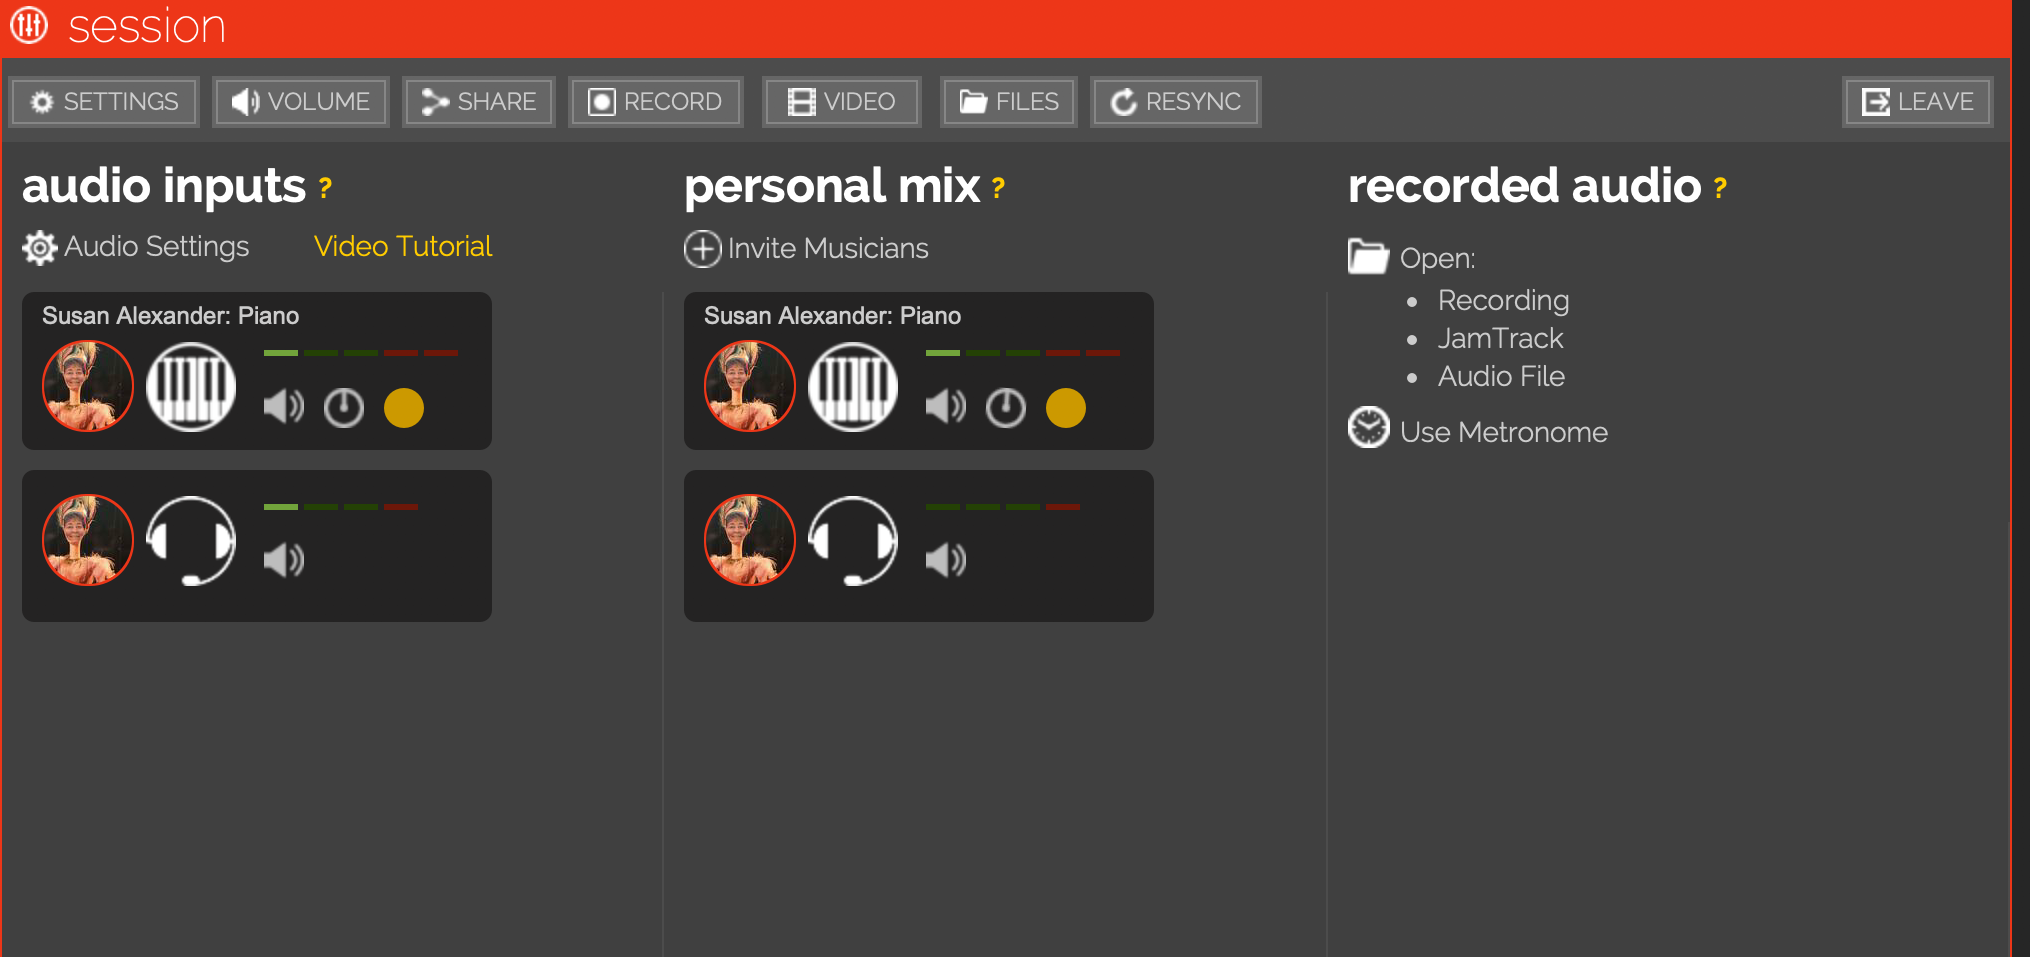
If you can’t hear yourself in a quick start solo session, you’re not
going to be able to hear yourself in any other kind of session, so get
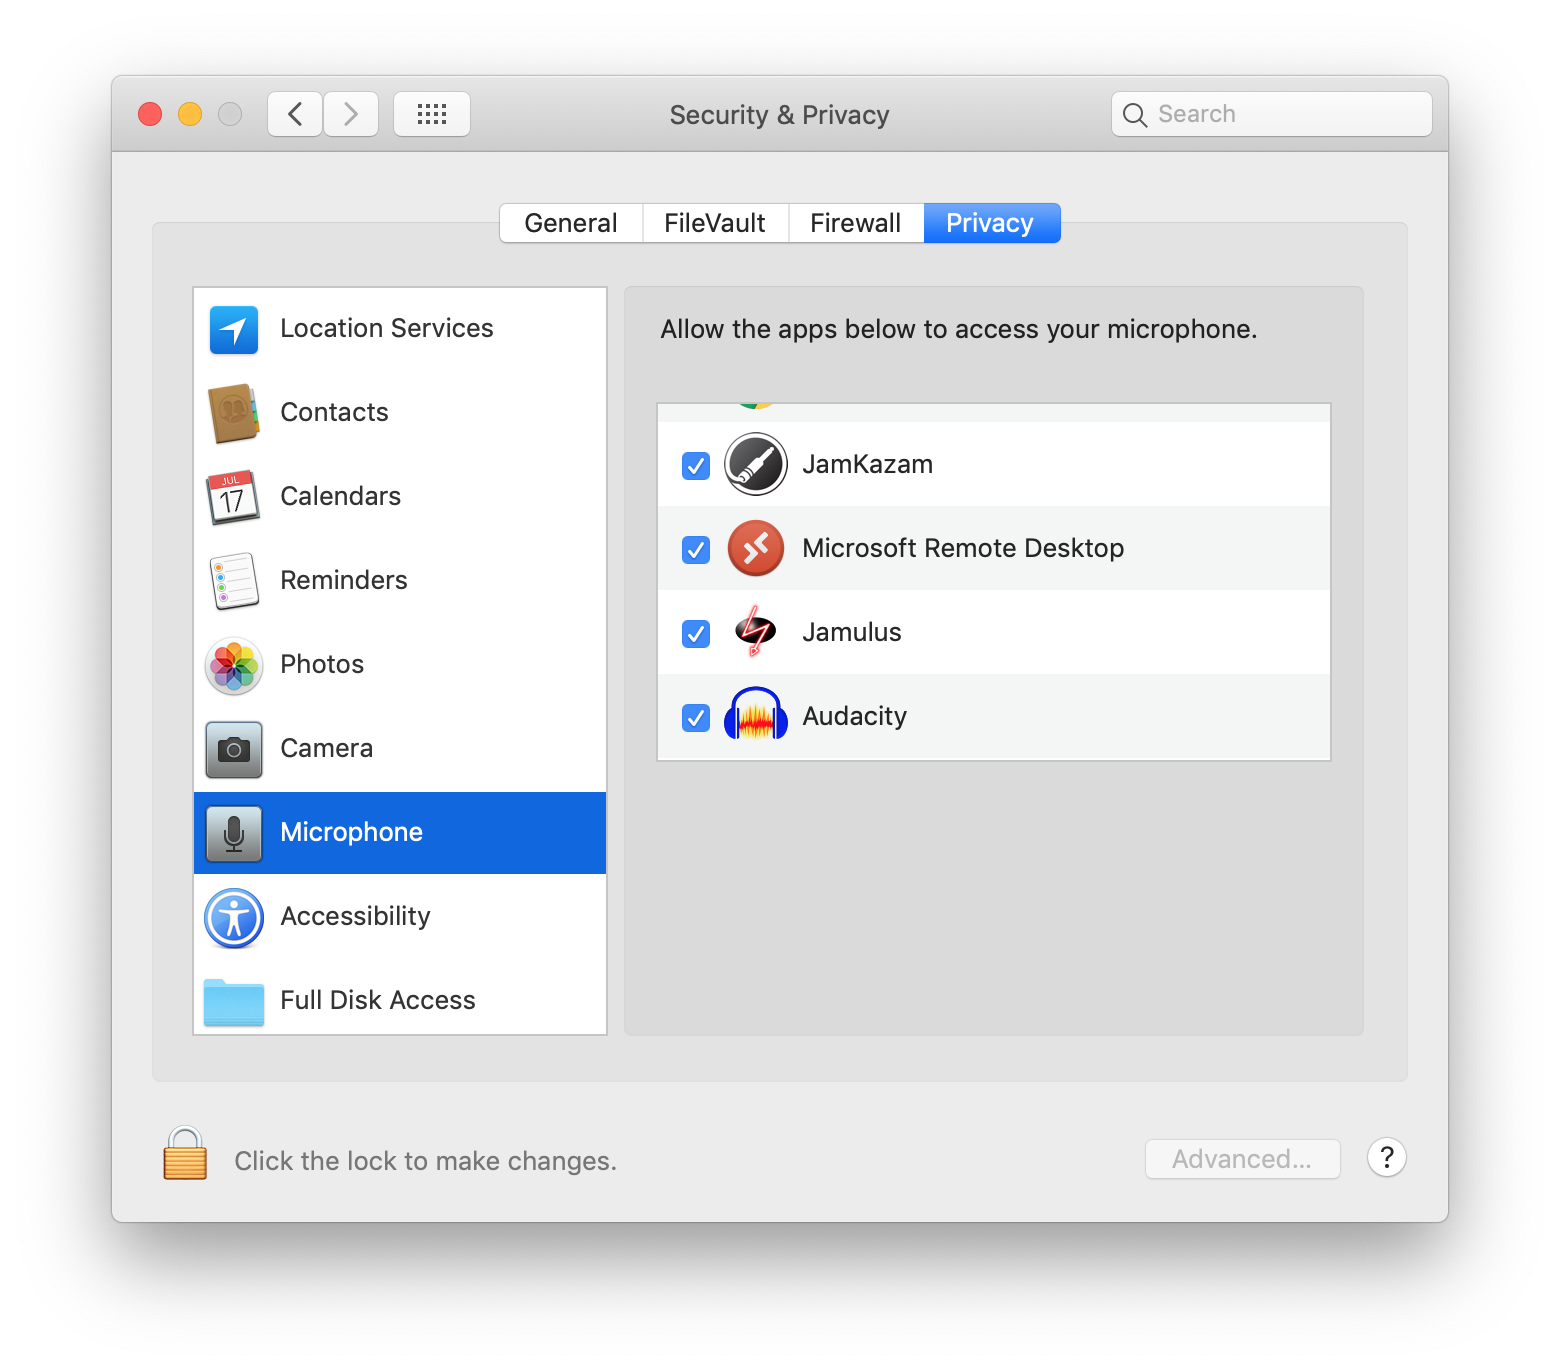
that fixed first. On a newer Mac, it may be a problem with audio
permissions. Open the System Preferences, go to Security & Privacy,
and click the Privacy tab. In the list of permissions on the left, click
Microphone. JamKazam should show up in the list on the right, and it
should be checked, like so:
Another issue that might arise on a Mac is the need to explicitly choose your JamKazam input and output sources. Normally this is not necessary, but if, when you try to do the above gear configuration, your target devices do not appear in the menu, that’s likely the problem. The Audio MIDI setup utility found in Applications > Utilities should list all the input and output devices choices available to you. Once you select and/or enable them there, they will be available to choose in the Sound preferences pane and JamKazam.